




Sunday, 26 February 2012
Extended absence - but not from designing!
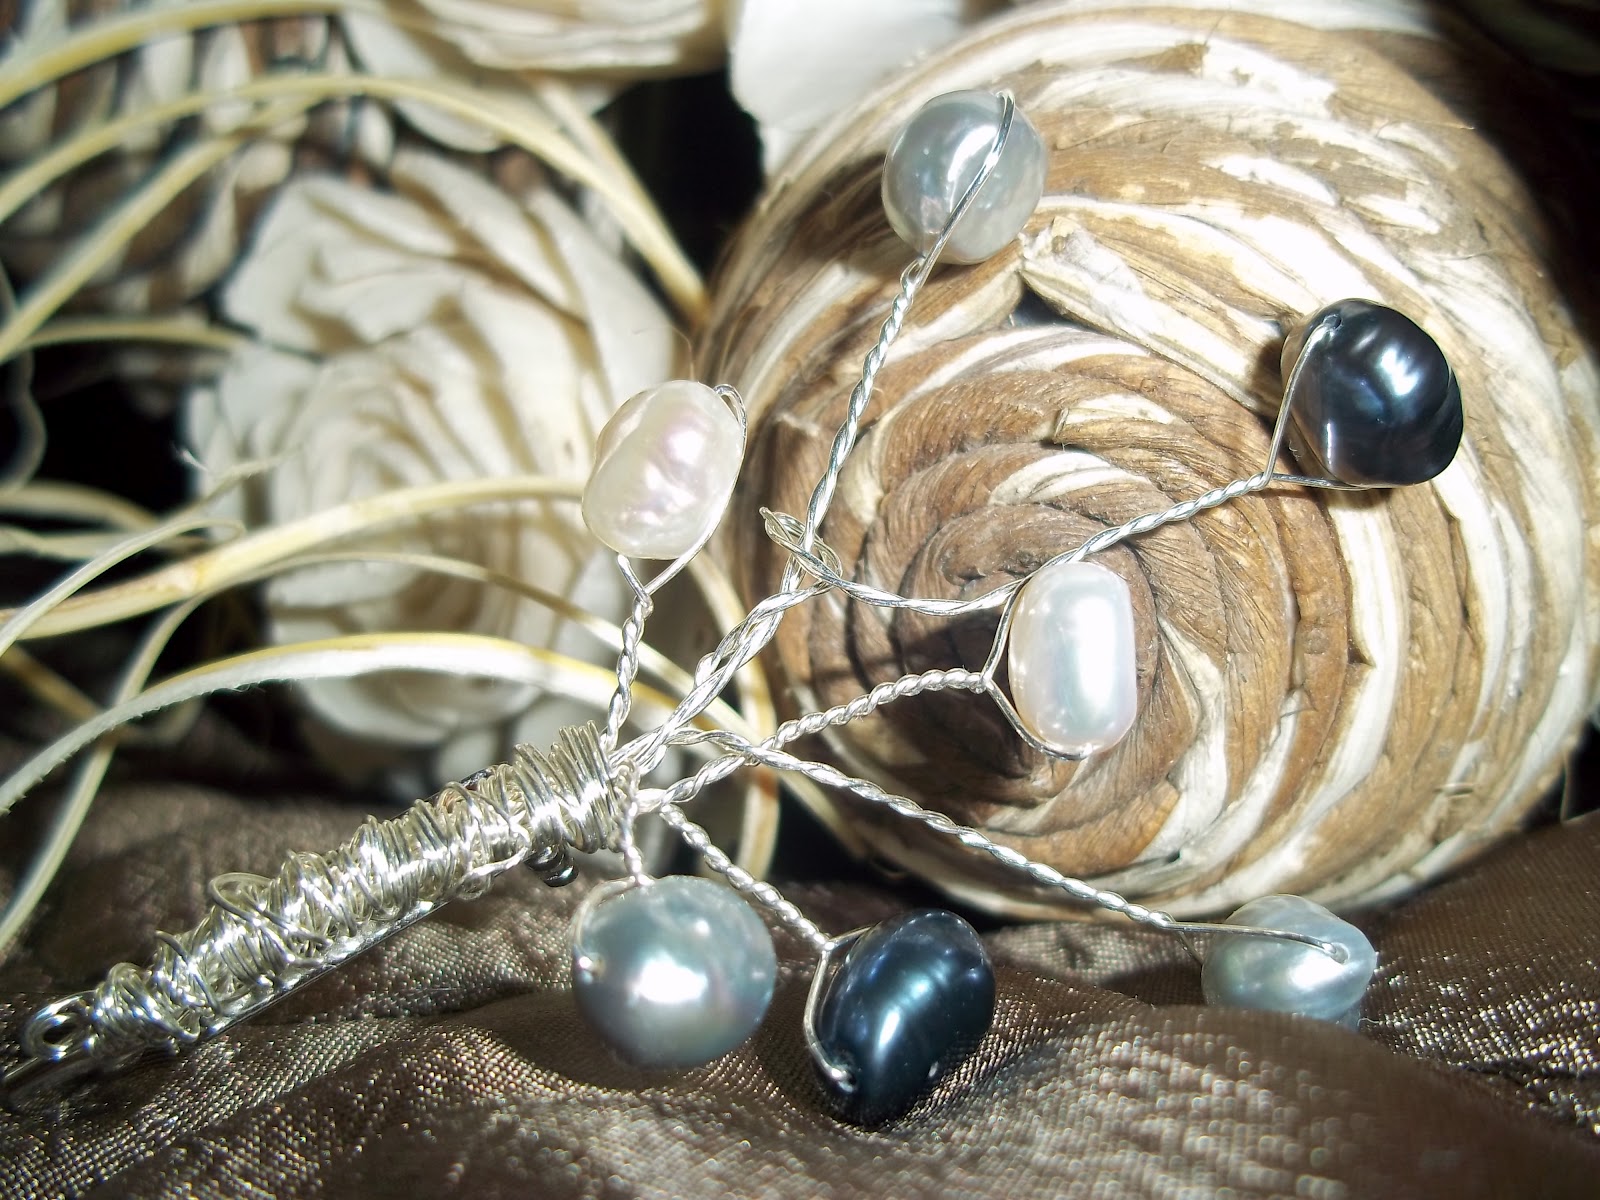
So its been quite some time since I posted on the blog, but that's mainly because I have become a jewellery making machine! As well as the various DT projects, I've been experimenting with my new "gizmo" and making a multitude of creations with the coils of wire as a result. So pretty much all of this blog post is going to be pictures! - feedback appreciated as always.

Saturday, 21 January 2012
How busy can a week be!!!!
It's quite astounding really, and I don't have the additional work created by having children as well! All my friends who have children tell me they don't have any free time, which worries me as I don't have any now, so what will it be like if I had children!!!
To be honest, it didn't really start as a good week anyway, as on the way home from work on Monday, I had a small misfortune, resulting in me having a knee the size of Jupiter, and looking just as colourful as well. It hasn't completely gone down yet, which is why I have chance to write this, as OH says I should be resting it. It hasn't stopped him mocking me all week for not being able to stay upright though!
So after my little trip, I went in to work early every day, as walking to work just wasn't going to happen - lots of overtime, but still, it's work right? I've found that while I love working in IT, it renders me pretty useless in the evenings - I'm no longer able to sit in front of the computer when I get home and spend hours looking at websites or reading what's out there in web-land. It's a sad state of affairs - I'm even writing this blog post on my iPhone!!!
So I'm sitting here, with my leg up on the sofa, thinking about what I have managed to get done this week, and what I might do this afternoon. There'll be no surprise that either of these involve jewellery! Here's a piece I made this week from shell beads and mystic smoky quartz. I'm off to make something with jasper which I'll post soon. Have a nice weekend!

To be honest, it didn't really start as a good week anyway, as on the way home from work on Monday, I had a small misfortune, resulting in me having a knee the size of Jupiter, and looking just as colourful as well. It hasn't completely gone down yet, which is why I have chance to write this, as OH says I should be resting it. It hasn't stopped him mocking me all week for not being able to stay upright though!
So after my little trip, I went in to work early every day, as walking to work just wasn't going to happen - lots of overtime, but still, it's work right? I've found that while I love working in IT, it renders me pretty useless in the evenings - I'm no longer able to sit in front of the computer when I get home and spend hours looking at websites or reading what's out there in web-land. It's a sad state of affairs - I'm even writing this blog post on my iPhone!!!
So I'm sitting here, with my leg up on the sofa, thinking about what I have managed to get done this week, and what I might do this afternoon. There'll be no surprise that either of these involve jewellery! Here's a piece I made this week from shell beads and mystic smoky quartz. I'm off to make something with jasper which I'll post soon. Have a nice weekend!
Thursday, 12 January 2012
Another creation!
If you've seen my posts in recent days, or if you talk to me often, you'll know I've become shamelessly addicted to the jewellery channel! Well, my beads have arrived and I was so excited to get my hands on them!
Now I promise this is related, but for Xmas, I bought my mum a black cashmere roll neck jumper - just begging to be accessorised!

 So what else could I do when I received these beautiful gems but make my mum a striking necklace! Here, I've used wire wrapping techniques to accentuate yellow jasper and puffy jade ovals, and connected them with jump rings and alternating pearls and red agate rounds. Might have to make one for myself now!
Now I promise this is related, but for Xmas, I bought my mum a black cashmere roll neck jumper - just begging to be accessorised!

 So what else could I do when I received these beautiful gems but make my mum a striking necklace! Here, I've used wire wrapping techniques to accentuate yellow jasper and puffy jade ovals, and connected them with jump rings and alternating pearls and red agate rounds. Might have to make one for myself now!
Wednesday, 11 January 2012
WOYWW and How to make Russian leaves
 Another busy week in Kittyville! Unbelievably, I am actually working at my desk this week - I have tidied it! I haven't tidied the rest of the room, but we are mid-decorating, and its a shocker - I can't wait to get all my storage in place and then we are good to go!
So the first thing you'll notice is my computer is on and streaming some TV shows (Grey's Anatomy - I am totally addicted!) from the US, cos I like to be ahead - I really hate crafting with nothing to watch on TV!
There's a few goodies scattered about - some shrink plastic that I'm very excited about using, a bit of bling that will go on a card to my mum, along with a bit of glimmermist that will be going on some flowers most like! There's also a necklace that was given to me ages ago which needs some fixing, and some yellow seed beads which I haven't decided what to do with yet, along with the usual tools and gubbins. You can just about see on the right a piece of paper, which leads me on to what I was doing while taking this pic - coming up with the instructions for the Russian leaves on my DT piece.
 Cut a length of Nymo or narrow wire - I used 0.3 mm - about 50 cm in length. Use two contrasting colours of seed beads (I refer to these as A and B in the following instructions). Thread 1A and 5B onto your wire/thread and push them to the centre.
Pull the left thread through the 2nd B bead.You will end up with this:

 Then add another two beads and thread back through the two on the left in the same way. This will give you a column of 2 x 4 beads, like so:
 Cut a length of Nymo or narrow wire - I used 0.3 mm - about 50 cm in length. Use two contrasting colours of seed beads (I refer to these as A and B in the following instructions). Thread 1A and 5B onto your wire/thread and push them to the centre.
Pull the left thread through the 2nd B bead.You will end up with this:
Keep your column of beads to the left and add 2 more B beads. The wire will come out of the top of these beads, turn the wire back through the 2 B beads to the left of the two you have just added
and pull tight. This will leave you with this:
Then add another two beads and thread back through the two on the left in the same way. This will give you a column of 2 x 4 beads, like so:

Add two more B beads, sitting these at the right hand side of those just added. Your wire will be exiting the top of the work, and you will have two beads sticking out at the side, like this.
Thread an A bead, and then travel back down the first three B beads.

Thread another A bead, and then thread the wire through the 2 B beads you added in step 6. These A beads form the picots at the edges of the leaves.
Add two B beads and rest these on top of the two B beads where the wire exits.
Add two more B beads at the side of the last two added, and pass the wire through those last two added beads.
Form another picot where the wire exits at the top and the bottom.
Continue to work on the right hand side, until you have made six picots.
Continue to work on the right hand side, until you have made six picots.

At this point, turn the work over and mirror the left hand side. You should now have a flat piece which needs to be joined. Where the wire exits on the right, thread 8 B beads.
Pass the wire through the last two B beads and the picot on the opposite side to join them together and make a complete unit.
Pass the wire through the last two B beads and the picot on the opposite side to join them together and make a complete unit.
Pass back through these B beads, and four more along the top.
You can now add veining if you wish, which I did on the leaves, or why not be creative and add anything you like in the middle - a pearl or crystal for example!
I'd love to see what you do with Russian leaves - especially as elements on cards or scrapbook pages!
I'd love to see what you do with Russian leaves - especially as elements on cards or scrapbook pages!

Happy WOYWW everyone!
Tuesday, 10 January 2012
DT Challenge #1: Purple and Green
 For those of you that don't know, I am a frequent visitor to It's Crafting Time, and I couldn't have been more flattered, when following their DT call, they picked little old me to be their DT member for jewellery. Since I got the themes, I've been beavering away, and I'm proud to show you my first piece!
 I've made this bracelet using a pattern for Russian leaves that I found through www.beadingdaily.com, and have been desperate to try for ages. I chose to use a couple of shades of each colour to create a bit of depth with the flower, and I added some texture using crystals and pearls on the stamens. The cuff itself is made with a tight right angle weave - I decided that the delicate nature of the flower needed a sturdy base.
For the Russian leaves, I used a mixture of thread and wire, and even though fiddly, once you have the technique you're well away! Instructions to follow on these. In terms of materials, this is relatively easy and inexpensive, as I probably only used about three pots of seed beads for the main bracelet, although obviously pearls and crystals are more.
 Materials: 5g of rainbow purple seed beads, 13g of amethyst seed beads, 5g transparent nucleus dark green seed beads, 5g very pale sage greenseed beads, amethyst crystal rondelles 6mm, Pale Pink 3 mm bicone crystals, Pale Pink 6mm Pearls, 0.3mm copper wire in a complementary colour (I used red), Pale Green Nymo, Lobster clasp, crimp tubes, jump rings. Tools needed: Beading needles, scissors, crimping pliers.
Wednesday, 4 January 2012
WOYWW
Well, this is my first WOYWW! I must feel invigorated after my first day back at work (groan!) Having spent most of Monday and Tuesday painting (and shopping for gems as well, but don't tell anyone!), it was actually quite nice to get back into the swing of it.

My work desk this evening is actually my lap - on a tray while hubby watches the football (groan!). I'm working on a piece that I was saving for a DT challenge, but got too inspired and excited to leave it alone, so I'm working on my pebbles necklace. I say working on, because for the second night in a row I've finished a piece of jewellery - looks like I'm on a roll! So here you go, here's the finished piece!


Happy Wednesday everyone - nearly the weekend!

My work desk this evening is actually my lap - on a tray while hubby watches the football (groan!). I'm working on a piece that I was saving for a DT challenge, but got too inspired and excited to leave it alone, so I'm working on my pebbles necklace. I say working on, because for the second night in a row I've finished a piece of jewellery - looks like I'm on a roll! So here you go, here's the finished piece!


Happy Wednesday everyone - nearly the weekend!
Tuesday, 3 January 2012
Happy New Year!
Well, I'm a couple of days late with the new year wishes, mostly because I have been very busy! We were away for the New Year, and when we returned, I started on the traditional Bank Holiday pursuit of the DIY! Having had an extra day off today, I started painting a room in our house, and managed to get the front door and the banisters painted. I think hubby was quite pleased when he returned from work, although when we went to get Dixie from the cattery, I don't think she was so pleased as it restricted her domain to the kitchen for a while! Never mind, she's sleeping on the bed now, so normal service is resumed.
In addition to the decorating, I've been exploring some new jewellery ideas - using jump rings not just as findings for clasps, but actually forming part of the pieces themselves. I'm quite pleased with the results, and this has given me some good practice on turning eye pins as well!


I made this bracelet using ball head pins which I threaded a seed bead and a smaller green bead onto, then turned an eye pin at the top. For the larger beads, I used wire and made an eye at either end of the bead. I then connected these all together with jump rings to make quite a chunky, but very light bracelet.


I've used exactly the same technique for this necklace, although this time there are no additional beads attached. I've used some tigertail wire to make the back of the necklace, rather than having beads all the way round. Of course, you could use ribbon or cord to finish off - I just happened to have this colour in my stash!


For this last piece, I've used peacock blue pearls as spacers between blue beads which are dangling from varying lengths of jump rings linked together. I've used flat head pins and created eyes at the top to affix them to the jump rings.
I've just ordered some gemstones from jewellerymaker.com - hope they come in time for the weekend so I can post the results!
In addition to the decorating, I've been exploring some new jewellery ideas - using jump rings not just as findings for clasps, but actually forming part of the pieces themselves. I'm quite pleased with the results, and this has given me some good practice on turning eye pins as well!


I made this bracelet using ball head pins which I threaded a seed bead and a smaller green bead onto, then turned an eye pin at the top. For the larger beads, I used wire and made an eye at either end of the bead. I then connected these all together with jump rings to make quite a chunky, but very light bracelet.


I've used exactly the same technique for this necklace, although this time there are no additional beads attached. I've used some tigertail wire to make the back of the necklace, rather than having beads all the way round. Of course, you could use ribbon or cord to finish off - I just happened to have this colour in my stash!


For this last piece, I've used peacock blue pearls as spacers between blue beads which are dangling from varying lengths of jump rings linked together. I've used flat head pins and created eyes at the top to affix them to the jump rings.
I've just ordered some gemstones from jewellerymaker.com - hope they come in time for the weekend so I can post the results!
Sunday, 18 December 2011
Tis the season to be...
...Crafty of course!
As well as all the present buying, wrapping, christmas cake baking and general festive preparations, I've been working on a number of very time consuming projects, not least of which is this peacock picture in cross stitch - below is a picture of what will be the finished image, although I have to say, I'm not even half way there yet!

I'm also pleased to announce that I am now on the design team with the lovely ladies at Crafting Time - look out for my jewellery items appearing from the 9th of January. I've been working on the first piece this week, and I'm delighted with the results - I can't wait to share them with you!
Happy Christmas everyone xxx
As well as all the present buying, wrapping, christmas cake baking and general festive preparations, I've been working on a number of very time consuming projects, not least of which is this peacock picture in cross stitch - below is a picture of what will be the finished image, although I have to say, I'm not even half way there yet!

I'm also pleased to announce that I am now on the design team with the lovely ladies at Crafting Time - look out for my jewellery items appearing from the 9th of January. I've been working on the first piece this week, and I'm delighted with the results - I can't wait to share them with you!
Happy Christmas everyone xxx
Sunday, 20 November 2011
Bead Crazy!
Another busy few weeks for me! I've just started my new job in IT, and you'll see from what's below how hard I've been working on my crafting!

Last week's bead fair at Newmarket racecourse offered up a treasure trove of beads, and armed with a very long shopping list, it was easy to get carried away with all the sparkly items! I mostly bought beads for projects, some of which I have been working on over the last week or so - the earrings and necklace below form a set:


These are made using flat peyote stitch to join together hex-cut seed beads. This is a simple stitch, although the end result is quite striking. I've then used bicone crystals and size 15 beads as small accents throughout, with the centre of the necklace using some drop crystals to create the focal point. I have finished this one with a loop clasp, using one of the drop crystals to secure the necklace when worn. I've used a similar structure with the earrings, creating a bit of movement by using interconnecting eye pins with two different patterns so that they match the necklace. I'm hoping to sell this one at the Budding Beaders Macmillan charity event on the 3rd December - details on that to follow later next week.

Time for me to make some more jewellery now, I must start thinking about what I can make for people's Christmas presents!
I've been taking lots of classes over the past couple of weeks, learning more scrapping and jewellery techniques to share - not least yesterday, at a class with Helen over at Crafting Time learning about creating pages starting with a blank piece of paper and creating the background using Distress Inks - pictures of this to follow!
I'll be off to another class next weekend, this time learning to make floating necklaces - wire work is something I'm only just starting to embrace, but Julie's class last month was such an eye-opener I'm definitely becoming addicted to producing earrings in addition to my seed bead work. Here's a pair of earrings I made in Julie's class last month:
Here I used a silver finish ball head pin, with a silver lined blue seed bead to sit underneath the glass bead. I then twisted the wire at the top to make an eye. For the second glass bead, I made an eye on a piece of 0.6 wire, sat the bead on top and then made another eye. This meant I could attache the ear wire, and then affix the two beads together.
Last week's bead fair at Newmarket racecourse offered up a treasure trove of beads, and armed with a very long shopping list, it was easy to get carried away with all the sparkly items! I mostly bought beads for projects, some of which I have been working on over the last week or so - the earrings and necklace below form a set:


These are made using flat peyote stitch to join together hex-cut seed beads. This is a simple stitch, although the end result is quite striking. I've then used bicone crystals and size 15 beads as small accents throughout, with the centre of the necklace using some drop crystals to create the focal point. I have finished this one with a loop clasp, using one of the drop crystals to secure the necklace when worn. I've used a similar structure with the earrings, creating a bit of movement by using interconnecting eye pins with two different patterns so that they match the necklace. I'm hoping to sell this one at the Budding Beaders Macmillan charity event on the 3rd December - details on that to follow later next week.

The last piece of jewellery I want to share with you is actually a piece I made a while ago - it is made entirely of seed beads woven into a "hazelnut shell spiral". This is actually quite easy to do, but quite fiddly until it begins to grow. The beads are strung in pairs of 8 to make semi circles around a central column of four beads, and then each shell is made up of four of these pairs. It takes a while to build, but I think the photo below shows how sparkly it looks once finished:
Time for me to make some more jewellery now, I must start thinking about what I can make for people's Christmas presents!
Saturday, 17 September 2011
Mad for Meerkats!
Its been a busy week or two here in Dixieland - holidays with the family with a bit of crafting thrown in for good measure! The holiday pictures are going to be fabulous especially the ones of monkeys stealing items off the car as we travelled through their enclosure at Longleat Safari Park!
Perhaps my most favourite of the animals there though were the meerkats - I just love the way they stand on their back legs as if to say "look at me"! To be truthful, I've been bonkers about meerkats since the comparethemarket.com adverts started, to the point where I got given the autobiography of Alexsander the meerkat for Christmas last year.
So it was no surprise that when I arrived home to find a letter from Tesco telling me my cat insurance was due for renewal that I went straight to claim my free meerkat! I just had to share with you what happened once I confirmed my purchase...enjoy!
Saturday, 3 September 2011
Resolutions In September?
Welcome to my new blog! It's been a long time since I've had the time to breathe, let alone organise myself to get some of my recent projects finished, photographed and uploaded so that I can share my work! When I finished teaching, I did so I could have more time to have a life outside of work, funny then that I seem to be busier than ever!
 Anyways, as I have resolved to start this blog, I'll share my most recent work, which was the printers tray workshop at It's Crafting Time. This was a fantastic workshop, a really packed day filled with UTEE, Alcohol Inks and so many amazing techniques it's hard to list them all - you'll see some of them in the photo's in a minute. Jennie from The Artistic Stamper took us through the workshop, and after 8 and a half hours (plus a bit of homework), here's the finished article:
 This piece is probably one of the simplest, yet my favourite piece in the whole tray. We poured UTEE into the mould with the frame resting on top, then once cooled I dusted some "Interference" perfect pearls on the top.
 In the top right, you can see my masterpiece (Turner Prize winner?), which was a mini canvas rubbed with Terracotta dabber, and then covered in tissue paper which I had stamped with the word "Imagine". I had an old fountain pen nib which Helen had given me to use, and in a moment of inspiration stuck it over the "I"...Genius worthy of the light bulb next door!
 This is Glassene paper which has been crumpled, brushed with perfect pearls and then heated to seal the powder on, with a button to embellish.
 The bird is painted with copper Gleam, (which smells amazing!) and then once dry stamped with a sheet music image using "pearl" dabber instead of ink. I added a pearl as an embellishment at the bottom. The mini porcelain figure is set on a background of embossed glassene, which has ink rubbed over the raised sections. I've highlighted the raised areas on the statue with gold dabber.
 The outside of the tray was the first thing we worked on, and although mine didn't turn out quite as well as it should, I really like the shabby chic look. This was done by painting the whole area in black first. Once this was dry, I stamped an image with embossing ink and then covered this with fine embossing powder. After heating with a heat gun so it melted, and then leaving it to cool, I dabbed over the top with three colours of dabber - copper, pearl and butterscotch. Once this had dried, I wet a cloth and rubbed at the surface - where the embossing was, the paint came away and let the black underneath show through.
I think you can see why this was such a packed class!
 Anyways, as I have resolved to start this blog, I'll share my most recent work, which was the printers tray workshop at It's Crafting Time. This was a fantastic workshop, a really packed day filled with UTEE, Alcohol Inks and so many amazing techniques it's hard to list them all - you'll see some of them in the photo's in a minute. Jennie from The Artistic Stamper took us through the workshop, and after 8 and a half hours (plus a bit of homework), here's the finished article:


I think you can see why this was such a packed class!
Subscribe to:
Posts (Atom)